Password protect your (Vercel) site with Cloudflare Workers
UPDATE: Password protected deployments are now FREE for all plans on Vercel! You can learn more by reading the announcement.
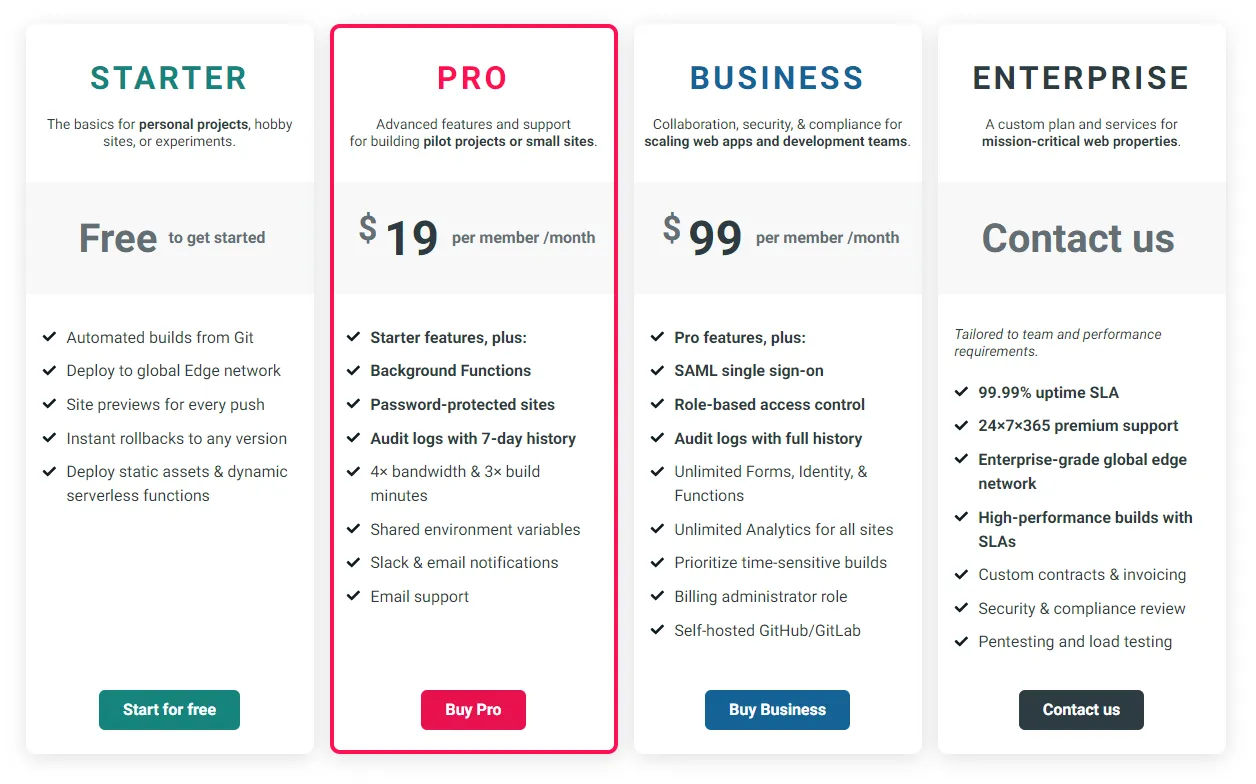
I am working on a new project where I already setup the deployment pipeline. The app has a backend and a frontend. The frontend is built with Next.js and therefore I deployed it to Vercel. Because the state of the current project is not publishable I want to protect the access with a password. Vercel offers this option, but you need to have the Pro plan that costs 20$ per month.

Alright that would not be too bad, but wait why is there a small info icon next to password protection 🤔
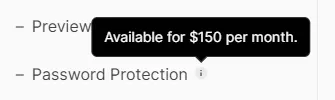
This is way out of my budget and I don’t understand why Vercel is selling this feature with such a high price tag. Netlify for example offers password protection too, but they have it included in the Pro plan for 19$ / month and no additional costs.
So I thought maybe I can add password protection with something else. And yes there is a solution: Cloudflare Workers!
To learn about Cloudflare Workers (CW) I would suggest you look at the docs. Basically, they are similar to serverless functions, but without the downsides.
Let’s protect our site with Cloudflare Workers
First of all your domain needs to be managed by Cloudflare to be used together with CW. If you have this working it is just a matter of minutes to have your site protected.
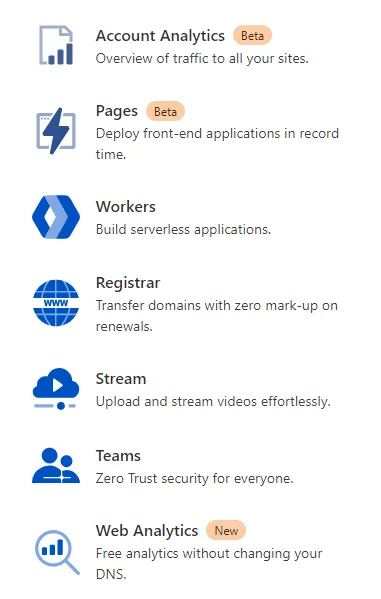
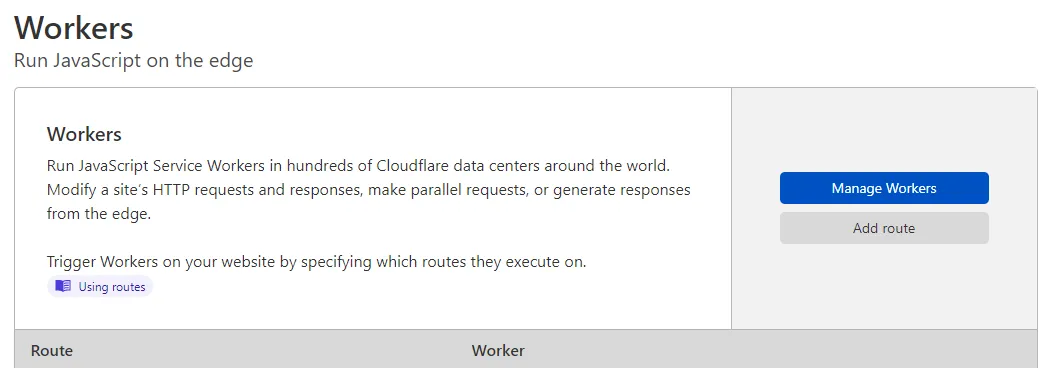
To create a CW you need to go to your Dashboard and select Workers on the right side of the navigation.
Next, you click Create a Worker and you should be shown the editor where we can write our code.
Of course, I was not the first one that had the idea to use CW to protect their site with it. After a quick Google search, I found this Repository on GitHub by dommmel.
Thanks to his efforts in creating this worker it was as easy as copying the contents of the index.js file and past it into the editor.
The only things you need to change now are the NAME, and PASS at the top. Between lines 76 and 77 you paste the following code:
const [protocol, , domain] = request.url.split('/');

if (request.url.startsWith(`${protocol}//${domain}/.well-known/acme-challenge`)) {
  return fetch(request);
}
This will allow Vercel to still be able to generate Let’s Encrypt certificates.
After that your code should look like this with your custom username and password:
const NAME = 'CUSTOM_USER';
const PASS = 'SUPER_SECRET_PASSWORD';

/**
 * RegExp for basic auth credentials
 *
 * credentials = auth-scheme 1*SP token68
 * auth-scheme = "Basic" ; case insensitive
 * token68     = 1*( ALPHA / DIGIT / "-" / "." / "_" / "~" / "+" / "/" ) *"="
 */

const CREDENTIALS_REGEXP = /^ *(?:[Bb][Aa][Ss][Ii][Cc]) +([A-Za-z0-9._~+/-]+=*) *$/;

/**
 * RegExp for basic auth user/pass
 *
 * user-pass   = userid ":" password
 * userid      = *<TEXT excluding ":">
 * password    = *TEXT
 */

const USER_PASS_REGEXP = /^([^:]*):(.*)$/;

/**
 * Object to represent user credentials.
 */

const Credentials = function (name, pass) {
  this.name = name;
  this.pass = pass;
};

/**
 * Parse basic auth to object.
 */

const parseAuthHeader = function (string) {
  if (typeof string !== 'string') {
    return undefined;
  }

  // parse header
  const match = CREDENTIALS_REGEXP.exec(string);

  if (!match) {
    return undefined;
  }

  // decode user pass
  const userPass = USER_PASS_REGEXP.exec(atob(match[1]));

  if (!userPass) {
    return undefined;
  }

  // return credentials object
  return new Credentials(userPass[1], userPass[2]);
};

const unauthorizedResponse = function (body) {
  return new Response(body, {
    status: 401,
    headers: {
      'WWW-Authenticate': 'Basic realm="User Visible Realm"'
    }
  });
};

/**
 * Handle request
 */

async function handle(request) {
  const [protocol, , domain] = request.url.split('/');

  if (request.url.startsWith(`${protocol}//${domain}/.well-known/acme-challenge`)) {
    return fetch(request);
  }

  const credentials = parseAuthHeader(request.headers.get('Authorization'));
  if (!credentials || credentials.name !== NAME || credentials.pass !== PASS) {
    return unauthorizedResponse('Unauthorized');
  } else {
    return fetch(request);
  }
}

addEventListener('fetch', (event) => {
  event.respondWith(handle(event.request));
});
Now that we have our worker finished we need can change the name at the top left and with Save and Deploy we can (duh..) deploy it!
The worker is now ready to be used and we can assign it to a custom domain. On Cloudflare open up your domain and go to the Workers tab.
Click Add Route and type the text from the placeholder into the input field. If your domain is example.com add *example.com/*. In the select box, select the newly created CF. This instructs Cloudflare to use this worker whenever the URL matches the route we defined.
On the DNS tab make sure the domain is proxied through Cloudflare (orange cloud), otherwise, the CW would not work.
Make it work with Vercel
Now that the Cloudflare Worker is set up and running, we still need to change a few settings in Cloudflare to make it work nicely with Vercel.
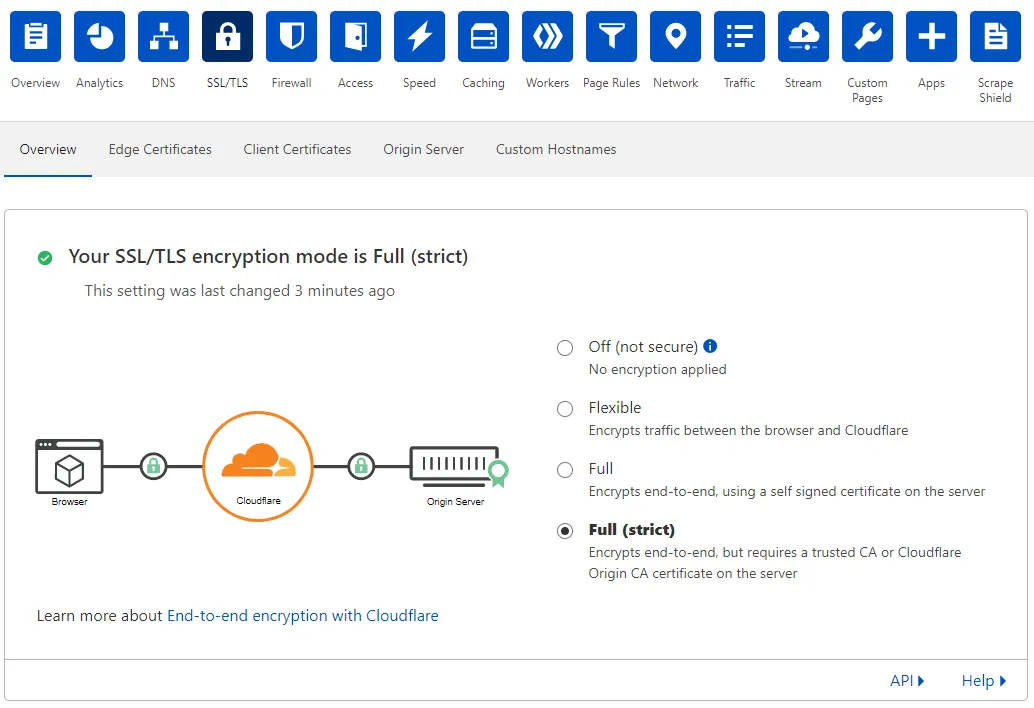
The first thing we check is on the SSL/TLS tab in Cloudflare. Make sure you have it set to Full (strict) otherwise you will get a Too many redirects error and can’t access your site.
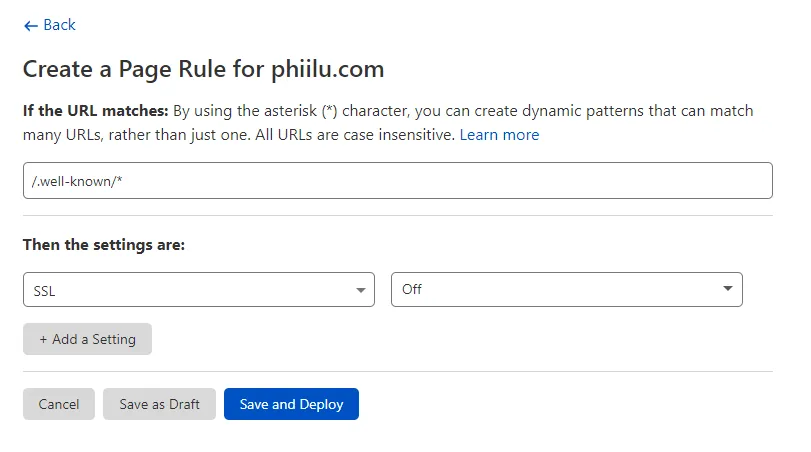
Finally, we need to tell Cloudflare that the route /.well-known/* can be accessed with HTTP instead of HTTPS. This is used by Vercel to create a Let’s Encrypt certificate.
To do this we need to go to the Page Rules tab on Cloudflare and create a new Page Rule. Enter in the first input field /.well-known/* and select in the select field SSL and Off. With Save and Deploy your rule will be applied.
We are finally done 🥳
Now your page should be protected using Basic HTTP authentication with the username and password you provided in the Cloudflare Worker.
I have set up a simple demo site where I protected an HTML site hosted on Vercel using the Cloudflare Worker we just created.
The site is accessible at https://protected-site-example.phiilu.com/
- Username: phiilu
- Password: shiba-inus-are-awesome!
Conclusion
Thanks to Cloudflare Workers we can simply add password protection to our sites!
In my opinion, such a feature should not cost 150$ a month and I hope that Vercel will rethink this choice and adds this as an included feature in the Pro plan.